Windows WPF via VM On Mac
Start developing and running WPF applications on a Mac in no time!
Posted on November 30, 2023

WPF On Mac?
Our software careers, projects, and assignments truly can take us anywhere. For an upcoming project, I'll be developing a Windows Presentation Foundation (WPF) application!
The thing is, I have a Mac...
...and you can't build or run WPF projects natively on a Mac!
So... you have to get... creative... with a virtual machine (VM).* 😃
There are some interesting caveats in the whole setup, so I figured I'd share the notes I took to get everything working. After about a half day's effort, I believe I've arrived at a pretty decent workflow for working on WPF apps on a Mac!
Let's get started.
*As far as I know, the setup described in this post will only work for Macs with Intel Silicon. If you have Apple Silicon, i.e. ARM architecture, a VM won't work, as far as I know. But if you've figured out a way to do this, let everyone know in the comments!
Initial Setup Steps
It's just 5 steps:
-
Download VM Fusion
-
Download a Microsoft ISO and open it with VM Fusion. This should kick off an install of Windows within the VM
-
Buy a valid Microsoft product key, and provide it during the installation. I bought a Windows 11 Pro product key for only $7 from Gamers Outlet (no affiliation)
-
Install .NET for Windows (this link is to 7.0 but keep in mind for whatever examples / projects you'll be using, you may need to install other versions)
-
As a final insanity check, try running the hello world WPF application from the dotnet template:
dotnet new wpf -o MyWPFApp
cd MyWPFApp
dotnet run
Voilà! If all is working, you should see an empty “MainWindow” window pop up, and the dotnet process will end when you close the window.
Bonus: Share Files So You Can Develop Locally on Mac but Run on Windows
-
Pick what folders you want to share by going to the settings for the VM you want to share files with, and click the “Sharing” icon. Then pick files from your host system you would like to share.
-
While the Windows VM is running, on your Mac go to the Virtual Machine tab and select “install VMware tools”. The install will act as a drive in disk D: and install the required software on the VM. You'll be asked to restart the Windows OS on the VM when the installation is complete.
-
The files you've selected will be as a desktop icon on your virtual machine, under the path \vmware-host\Shared Folders\
-
Enjoy the file-sharing goodness! You can freely use an editor on your Mac and then run the project on your VM (of course, you can opt to run an editor directly on your VM, though this may be sub-optimal if you're like me and like the keybindings you have on Mac)
Double Bonus: Create a PowerShell Profile and Enable Execution of Scripts on the VM
If you're like me and used to *nix systems, you probably have a bunch of bash aliases you are used to using for getting around on your system. The PowerShell version of such a profile can be created under your shared file directory at <shared directory root>\Documents\PowerShell\Microsoft.PowerShell_profile.ps1 However, after creating this file and putting in any custom commands you want, it's likely you'll run into an error each time you open a new PowerShell window:
. : File \\\\vmware-host\\Shared Folders\\Documents\\WindowsPowerShell\\Microsoft.PowerShell_profile.ps1 cannot be loaded
because running scripts is disabled on this system. For more information, see about_Execution_Policies at
https:/go.microsoft.com/fwlink/?LinkID=135170.
At line:1 char:3
+ . '\\\\vmware-host\\Shared Folders\\Documents\\WindowsPowerShell\\Microsoft ...
+   ~~~~~~~~~~~~~~~~~~~~~~~~~~~~~~~~~~~~~~~~~~~~~~~~~~~~~~~~~~~~~~~~~~~
    + CategoryInfo          : SecurityError: (:) [], PSSecurityException
    + FullyQualifiedErrorId : UnauthorizedAccess
Running Windows on a shared file on a VM brings various security policies into play, as the shared files are considered “external” from the operating system. To fix this, open PowerShell as an admin and run:
Set-ExecutionPolicy -ExecutionPolicy RemoteSigned
This is the same execution policy used on Windows Server, so it is not completely unrestricted or insecure policy. From there, the sky is the limit on creating commands and aliases for your PowerShell instances. Here are some simple commands I've adopted from my own Mac bash profile:
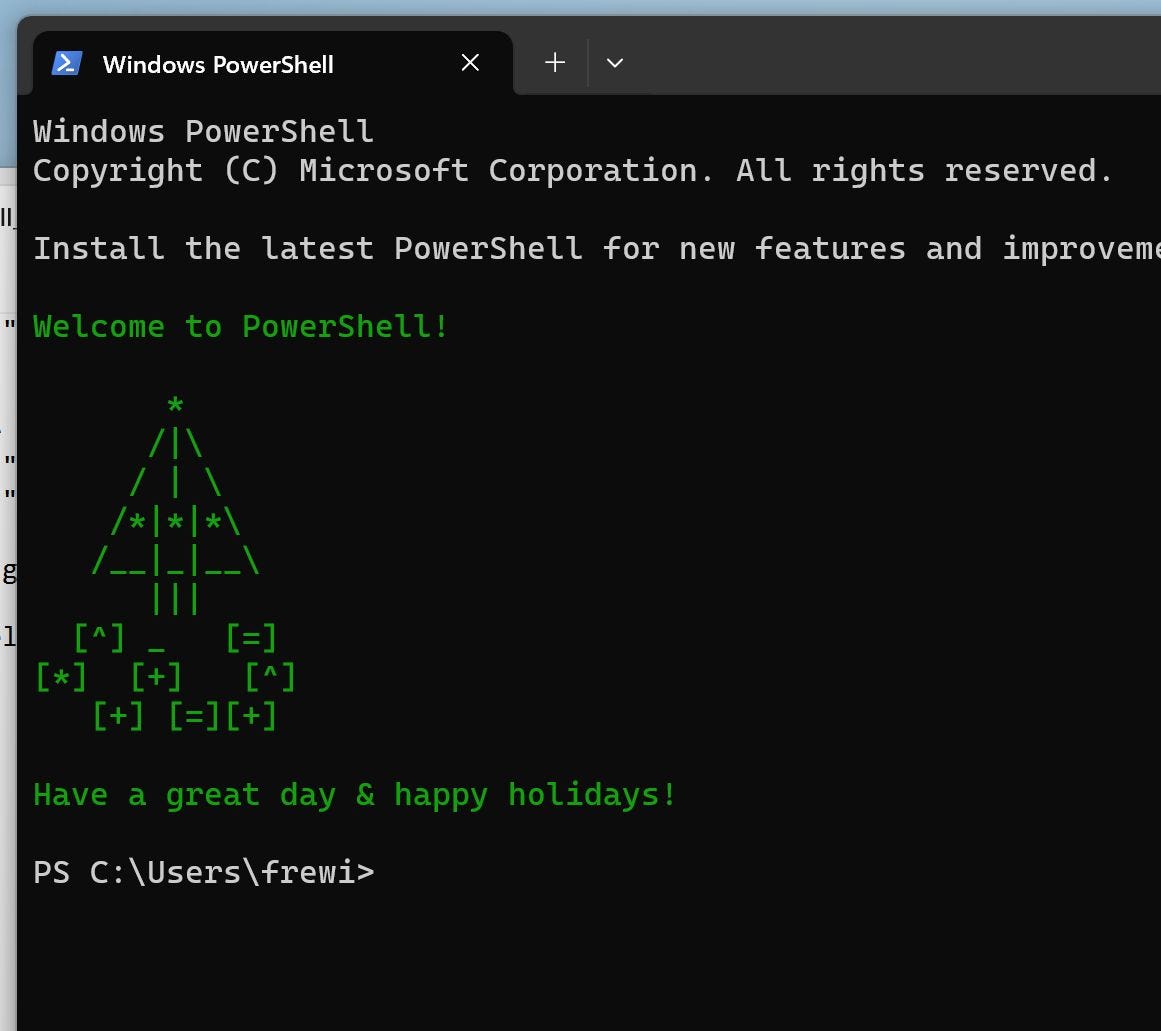
# message of the day - shows up at the top of every new terminal
Write-Host @"
Welcome to PowerShell!

        *
        /|\
        / | \
    /*|*|*\
    /__|_|__\
        |||
    [^] _   [=]
[*]  [+]   [^]
    [+] [=][+]

Have a great day & happy holidays!

"@ -ForegroundColor DarkGreen

# very meta - open this profile file itself in notepad :)
function prof {
    Notepad "\\vmware-host\Shared Folders\Documents\WindowsPowerShell\Microsoft.PowerShell_profile.ps1"
}

# save the profile without having to open a new terminal
function s {
    . $profile
}

function show {
    ii .
}

function shared {
    Set-Location "\\vmware-host\Shared Folders\"
}

function rider {
    Start-Process "C:\Program Files\JetBrains\JetBrains Rider 2023.2.3\bin\rider64.exe" -WorkingDirectory %1
}
The festive message of the day looks like so:
Thanks!
As always, hope this post was helpful in the rare case you're like me developing WPF on a Mac! WPF still lives on in late 2023! 😃
Cheers 🍻
-Chris


